There's The Stairway to Heaven and The Road to Hell. There is also The Hallway to Nowhere, which is in our house! Our front entry has two steps that lead directly to a long hallway with three closets on the right and a window at the end. Don't get me wrong, I love having the extra closets (and another space to decorate), but it's an odd layout that I like to make fun of!
 I'm feeling a little "stuck" on how to finish the office so I've been sprucing up The Hallway to Nowhere instead, which included making new curtains for one of the closets. Here is a photo of how the hallway looked a few weeks ago, before I dragged home a vintage Lane trunk /bench and made new coat hooks.
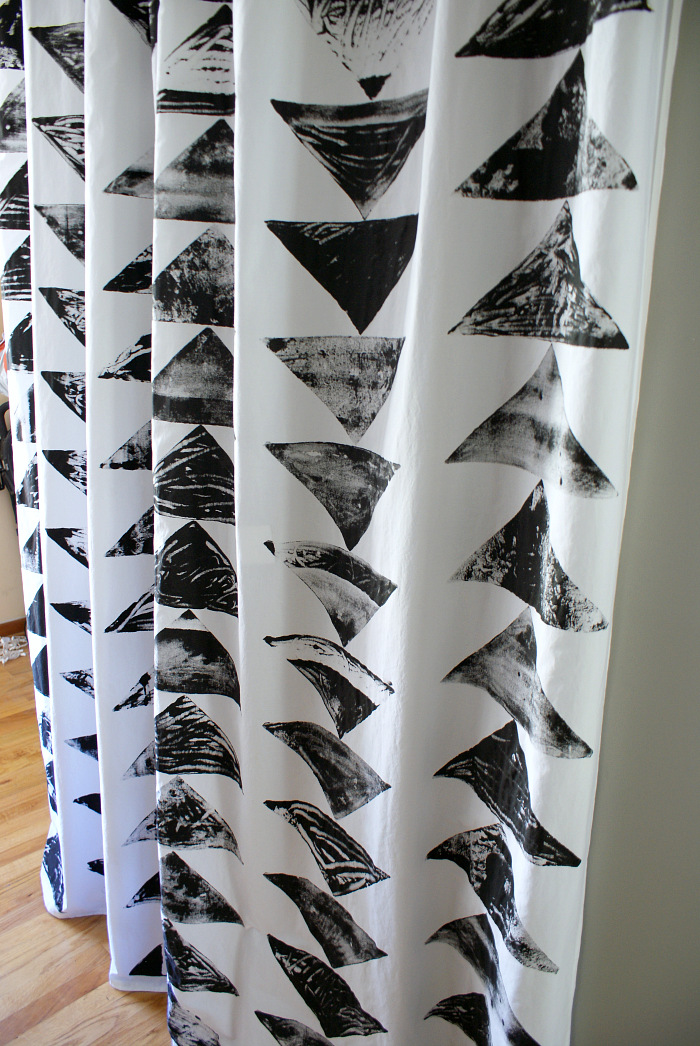
I wanted a simple geometric pattern for the curtains and felt totally inspired when I came across this wall by Vintage Revivals. So fun and bold but simple!
First, I showed Jesse the picture from Vintage Revivals and asked him to cut a triangle shaped block for me. A few minutes later, he came back from the shop with a block that had a handle on it. A handle! Serious brownie points. Side note - I think an old drawer pull would work well as a handle, too.
 After I had my amazing new stamp, I stapled a double layer of old tee shirt to one side, pulling it tightly around the corners. For the curtains, I bought a queen sized flat sheet from Target, cut it in half and hemmed the sides. Fourteen dollar custom length curtains? Yes please! Before I started stamping, I laid out the curtains on a large table and measured and marked straight, evenly spaced lines using a yardstick and pencil.
Remember the stamped pillow from a couple months back? I used the same paint mixed with fabric medium for this, spreading it out on a (super fancy) piece of cardboard wrapped in foil. After dipping the stamp in the paint, I used the back of a spoon to spread the paint around a bit which gave each stamp a fun random look.

The stamping process took about an hour for each curtain but I moved pretty slowly, carefully lining up the point of each triangle on the pencil line. I also didn't want to drop the stamp and ruin the curtain like I did with my stamped pillow.

I let the curtains dry overnight before hanging them up. The instructions on the textile medium say to heat set the paint with an iron, but I'm a lazy crafter so I didn't do that. I figure if the curtains ever need to be washed I'll do a quick heat set before tossing them into the machine.


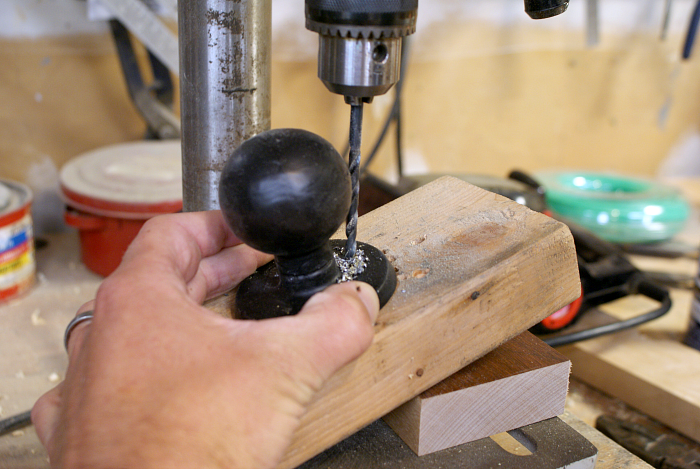
 Next, I headed over to our local hardware store to buy a can of black Plasti Dip. I thought Plasti Dip would be kinda scary to work with since it's basically liquid plastic and the can has warning labels like "extremely flammable vapors." However, once I got set up outside, it wasn't a big deal. The smell is a bit like spray paint and not as strong. Just use the Plasti Dip outside, dispose of it properly, don't eat it and you'll be fine! By the way - my knobs are painted white because I was going to do a "dipped" look but I did't like it so I opted to cover the entire thing with Plasti Dip using a small paint brush.


 To mount the knobs, we used a salvaged board from some old built-in shelves we recently took down. The shelves were painted white, so Jesse ran the board through his planer to smooth it out and remove most of the paint. I love the rustic / industrial look that having some of the old paint and holes showing gives it.


