I'm trying to spruce up our home office space, but since we are having the house painted this summer, I don't want to spend much on the project. Ultimately, I'd like to have a guest bed in there but for now I think pretty corner chair with some decor will do the job. I had this vintage slipper chair (it was previously located in B's room) and I thought it might be fun to try painting the upholstery.
Have you come across upholstery painting or tried it? It's been around for a while, and there are several good tutorials out there. This is the method I used, it's a little of this and a little of that from several other sources.

Supplies:
Latex satin paint - I used leftover from paint from our bathroom re-do.
Fabric medium - this stuff is usually located in the painting section with acrylic paints and brushes.
Painter's tape
Inexpensive, stiff-ish bristled paint brush
Spray bottle with water
200 grit sand paper - I didn't end up using this, but you might need it to gently sand away fuzzies, depending on the type of fabric your piece is covered in.
Mixing container with a lid
Drop Cloth - I always save old shower curtains and use them as drop cloths.
Glass of wine - optional ;-)
 First, I mixed up a batch of fabric paint by combining one part medium, one part paint, and two parts water. So, my first batch was 2 ounces fabric medium, 2 ounces paint and four ounces of water. This wasn't quite enough to do the entire first coat, so I mixed up a second batch exactly like it.
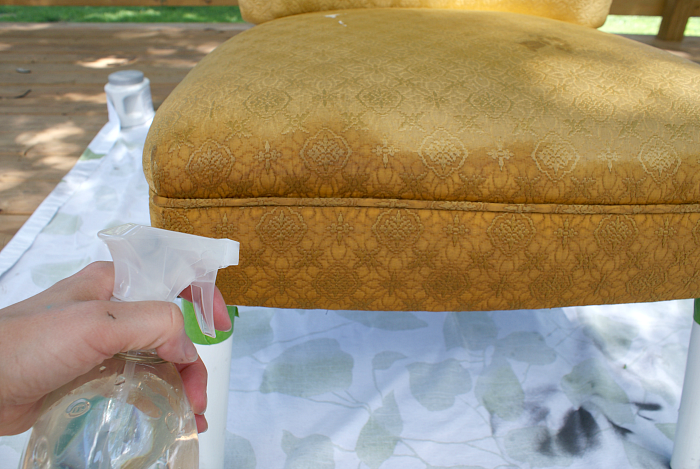
This paint solution is very watery and runs a lot, so I used a drop cloth and also taped the legs; I even stopped part way through painting the front to finish wrapping them! Next, I sprayed the fabric with some water, rubbing it in a little. This gets the fabric ready to absorb the paint mixture. Side note - I don't believe this process would work well with new upholstery as most pieces are treated with water repellent / stain repellent chemicals that would keep the paint from absorbing easily into the fabric. I worked my way around the chair, covering it with the fabric paint mixture. For corners and seams, like the piping around the seat, I used my fingers to work the paint down into the cracks.
 Once the first coat was finished, I let it dry for twenty four hours. I suspect you could apply the second coat within a few hours, this is just how it worked out for me because it was the soonest I could get back to the project.
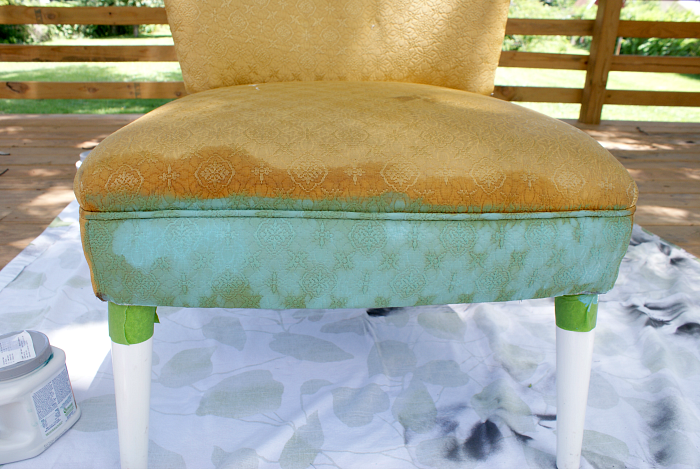
Here's how the chair looked after one coat of the paint, medium and water mixture. Still a lot of the yellow showing through.

With Juno's help and supervision, I applied a second coat of the watery mixture. Here's how the chair looked after the second coat of paint was dry. Still a little yellow showing through in spots.
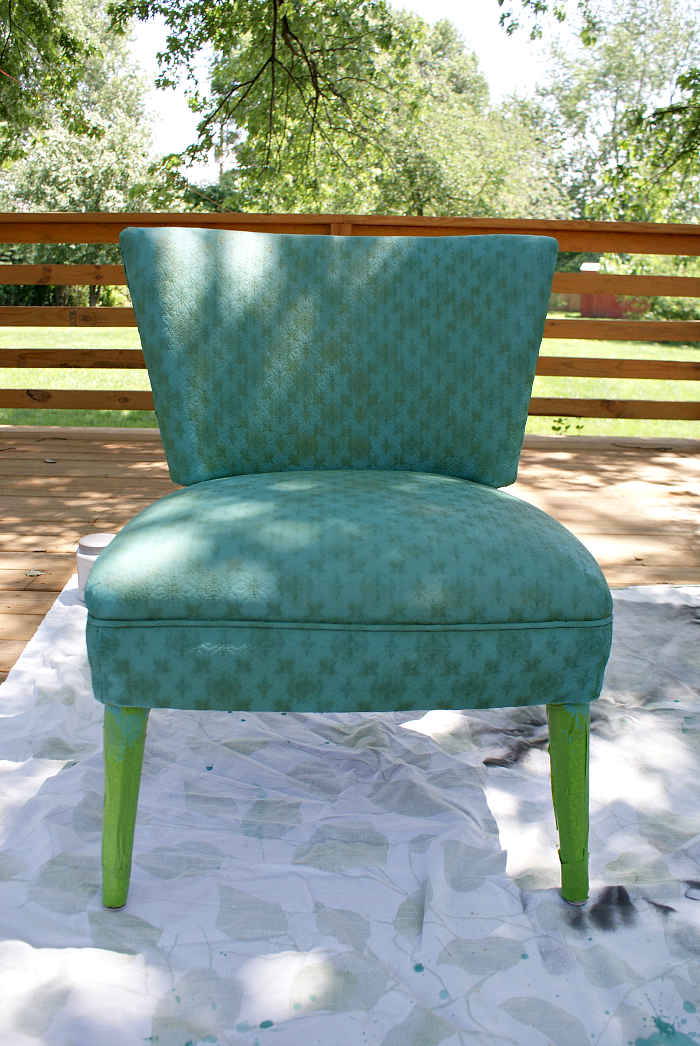
After letting the upholstery dry for another twenty four hours, I used a final, much thicker coat of one part medium, one part paint, and a splash of water, followed by some touch ups.

Overall, I'm loving how it turned out; the fabric has a shiny, leather-ish look and feel. Painting upholstery isn't something I would do to furniture that is for everyday use, but it's an easy and inexpensive solution for little accent pieces. Painting this chair cost exactly eight dollars plus a twenty dollar toss pillow from Home Goods. I haven't finished up the office, I have a few more projects and a super fun piece I found at Junkstock that needs a little work. I'm hoping to have a post to share in a few days!
Keep in Touch by Following Me on Bloglovin'!
This post is linked up with:
Remodelaholics Anonymous 6.20.13
Link Party Palooza 6.20.13
The Makers 7.1.13
The Winthrop Chronicles 7.8.14
Link Party Palooza 6.20.13
The Makers 7.1.13
The Winthrop Chronicles 7.8.14


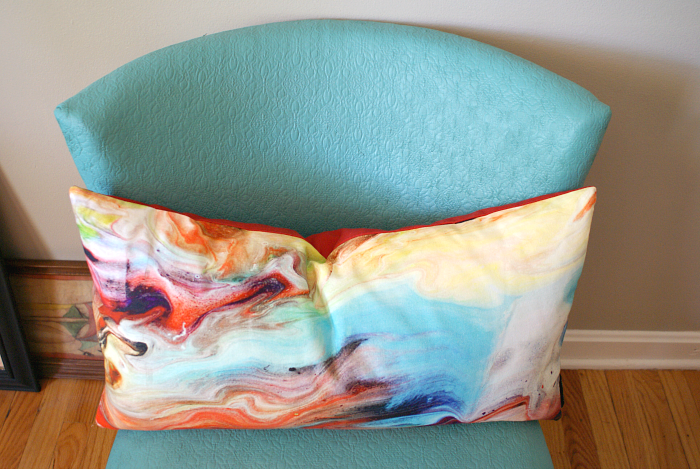
Popping over from Winthrop Chronicles. Love the color you chose. The pillow really makes the chair pop. Great work, thanks for sharing!
ReplyDeleteI tried this about 40 something years ago and it was a bit crunchy because I didn't have the medium to mix it with. Thanks for the "new" idea, I'll try it again.
ReplyDeleteCool chair transformation. Recycling is what I love to practice most because it does not only save me money, but I save nature's life most importantly. I hope this blog will be an inspiration to everyone to enjoy and practice recycling by doing DIY home & office furniture redo, repainting and re-upholstery.
ReplyDeletelove the look and the color it's giving me a ton of ideas, thanks for sharing
ReplyDelete