We live in the Midwest, where yards are big and new subdivisions with huge homes are everywhere. But we have an older house and our bathroom is about twenty seven square feet.
Full disclosure: We have an unfinished bathroom in the basement but we only use it for, um, emergencies. Sometimes having a small bathroom is a little frustrating, but I don't get too down about it. The couple who built this house and lived here for forty years raised five girls with this bathroom. F
ive. It's all about perspective!
Since our bathroom is so small, I thought I'd share a few tips on how we make it work.
 Remove closet door(s). We have a linen closet in our bathroom, which is great but the closet door and bathroom door kept bumping into each other. Our solution was to take the door off and replace the painted plywood shelving with butcher block. This solves the issue of the doors bumping into each other, opens up the room a little and provides a few inches of counter space.
Edit Supplies.
 I regularly go through our baskets and drawers and toss anything that is past it's prime. Items that aren't every day essentials get stored elsewhere. For example, extra toilet paper (there is one back-up in the basket) Qtips and cotton balls are stored in the pantry. Medicine bottles, like cold remedies and ibuprofen, are stored in the kitchen. If an item won't fit into one of the baskets or drawers, I evaluate whether or not it needs to be in the bathroom, or if something else can go to make room.
Form AND Function. Since we don't have extra space for decorative objects, I use baskets, jars and vintage milk glass to corral necessities and provide a little style at the same time. Another way I combined form and function was by swapping B's plastic step stool with one that was
a little more eye catching. My favorite form/function object so far is this upcycled metal first aid box!

I love this vintage inspired first aid box from
CB2, but I thought I could make something similar for less. I found this old metal box at the Goodwill and gave it some spray paint love.

The box required about ten minutes of scrubbing, then I let it air dry before priming. After the primer was dry, I gave the box three coats of white spray paint, with a light sanding in between layers. The red cross is a vinyl sticker from
Amazon.
OK, on to my last two tips...
Reign in Kid Clutter. Behind the shower curtain (sorry, no pic), bath toys are contained in
one mesh basket. We hang B's potty seat over the bathtub water faucet so it's out of the way, but he can easily reach it.

Consider Humidity. This is something we struggle with, in fact I need to re-paint the walls because of it (more on that in a separate post). A couple of things that seem to work are squeegeeing the shower walls and running the fan for at least thirty minutes after bathing. I also bought a couple of
Turkish bath towels, which are fantastic. They are super soft but they are thin so they dry fast and therefore resist mildew better than plush towels. Oh, and that kitschy paint by numbers on the wall? It was eight bucks at an antiques store and already slightly water damaged, so I'm not worried about it getting ruined. :)

These are just a few ways we make our small bathroom work. Do you have a small bathroom? how do you maximize the space? I'd love the hear about your solutions or clever things you've seen in the comments!


 Remove closet door(s)

 The box required about ten minutes of scrubbing, then I let it air dry before priming. After the primer was dry, I gave the box three coats of white spray paint, with a light sanding in between layers. The red cross is a vinyl sticker from
 These are just a few ways we make our small bathroom work. Do you have a small bathroom? how do you maximize the space? I'd love the hear about your solutions or clever things you've seen in the comments!
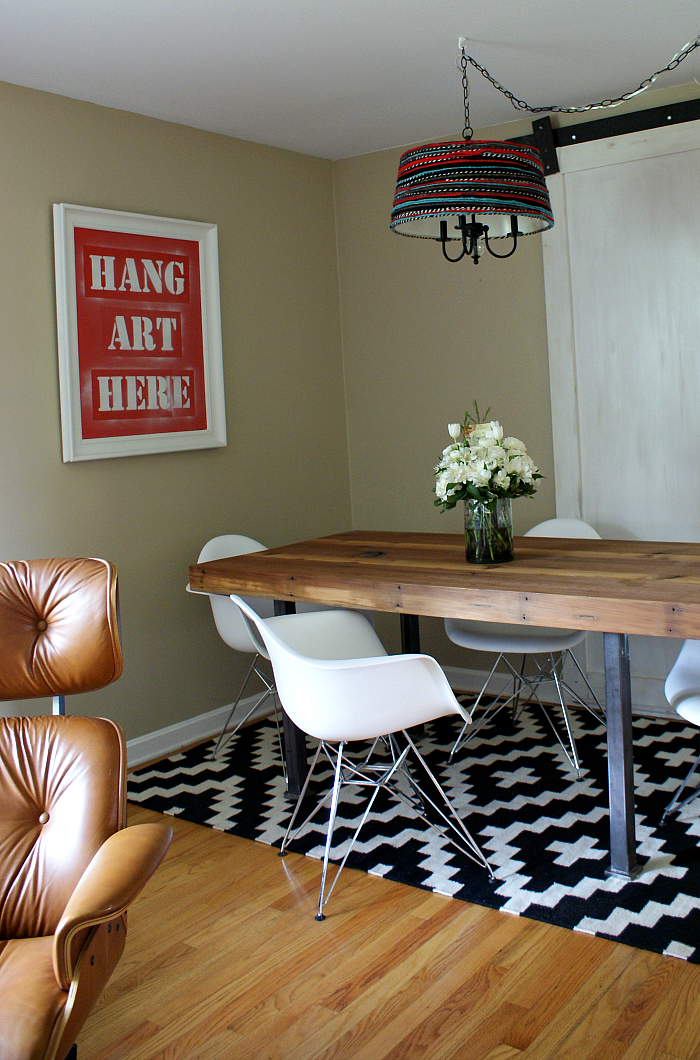
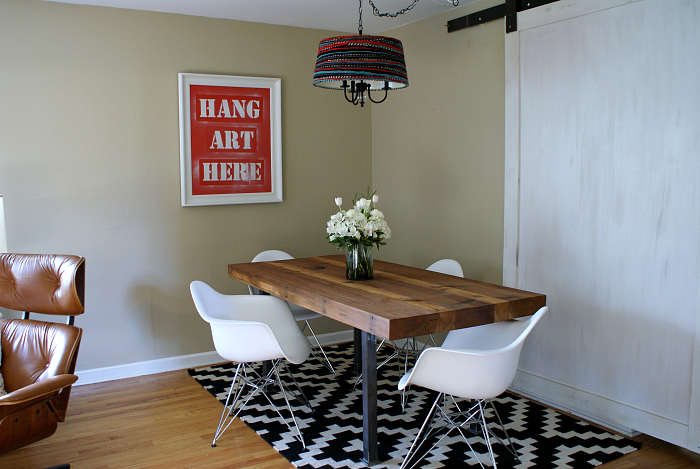
 I've been checking the Habitat Re-Store once a week for about a month hoping to find a light fixture for over the dining table. I got lucky on Wednesday when I stopped in over lunch and found this little number. Also, side note, I think this purchase, which followed


 As I understand it, the repair is simple. The sticky part is deciding whether to paint the entire ceiling so it matches or use a medallion to cover the mis-matched area. I need a little time to think about it, plus Jesse has a paid side project he's working on right now, so this will have to take a backseat for a week or so.

