Raise your hand if you love Land of Nod. Mmhhmm. Me too! I'm positively in love with the black Jenny Lind style bed in their line-up right now. But...But...It's six hundred bucks. Yikes! Luckily, not long after I'd set my heart on the Land of Nod version, I came across an old Jenny Lind style bed at a salvage yard - for thirty dollars! Holla!

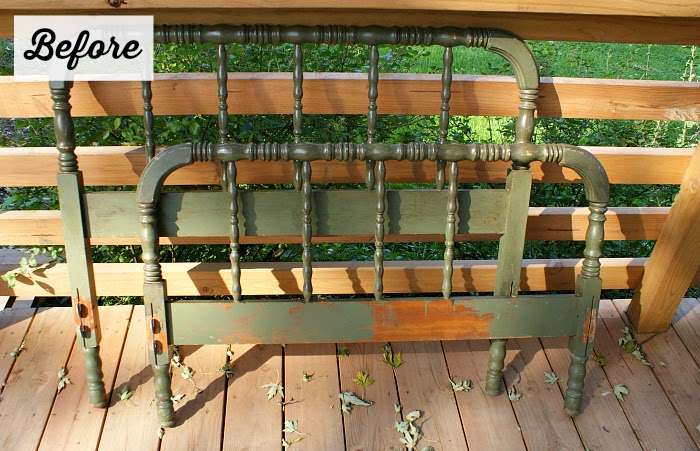
Granted, the bed was in rough shape, didn't have rails and took us six months to finish, but it was so worth the effort! Here is a before picture. Army green anyone?
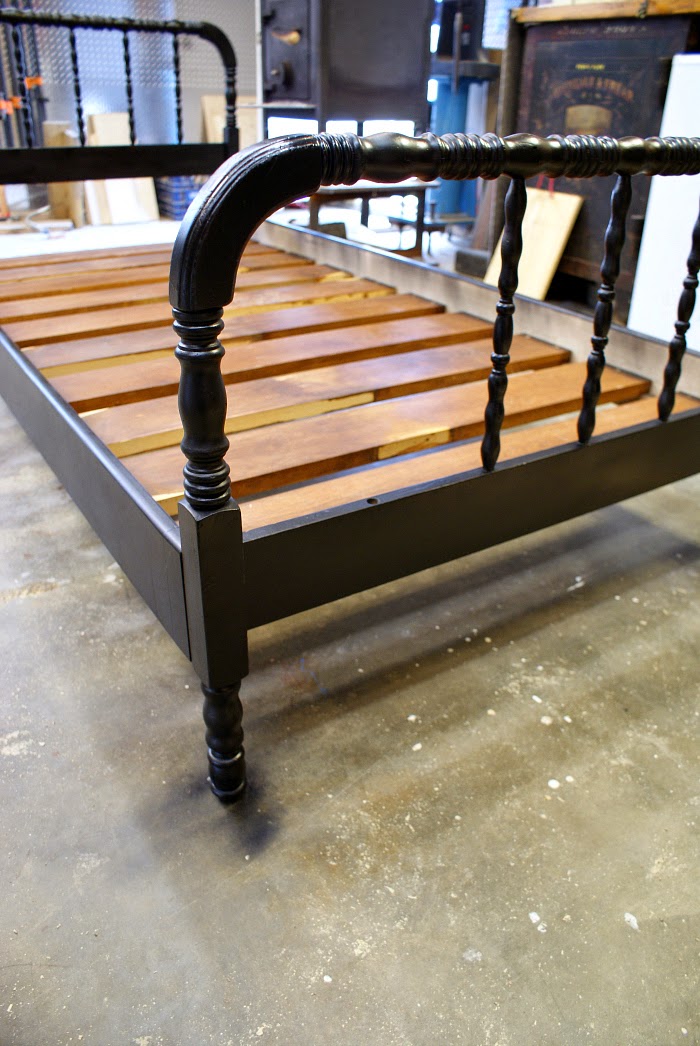
 I sanded the headboard and foot board, then painted them with Valspar black satin paint, Jesse fashioned slats and rails and was able to save on cost by using wood salvaged from a side job. We did run into a slight problem when we moved the bed into B's room, though. Oops! Measure twice, cut once!
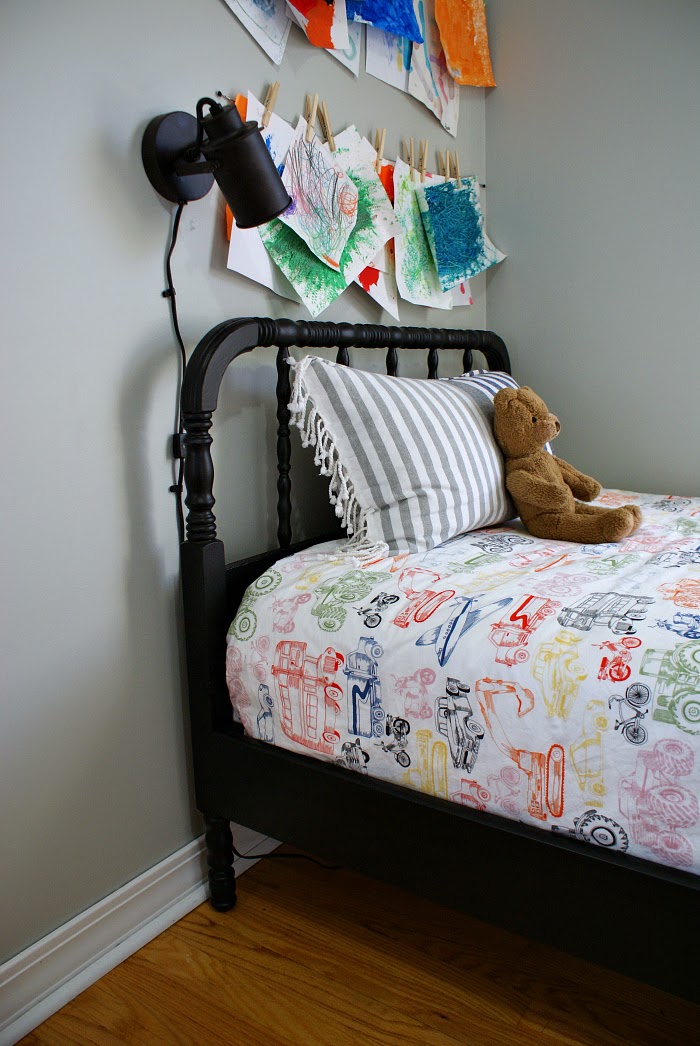
 Once we got the length issue corrected and the bed moved in, we added a wall mounted reading light from Target as well as some basic metal wire with clothespins for displaying B's art. I made the pillow from two Turkish style kitchen towels and the duvet cover is from IKEA.
 The room is finally coming together and I hope to wrap it up for a full tour style post by the end of the year - just need to finish up three more mini projects!


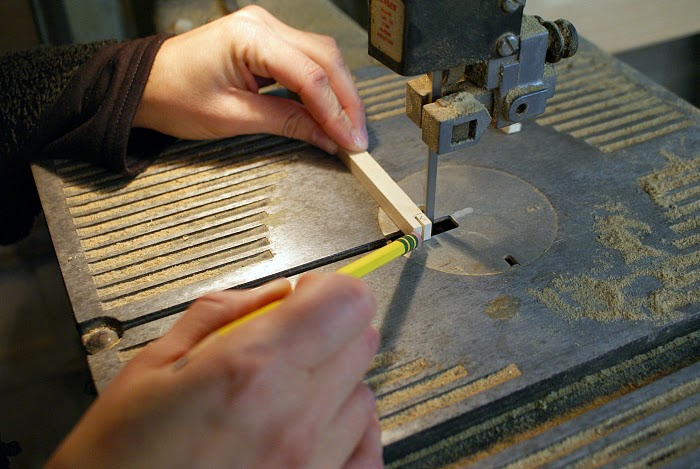
 Then we cut the pieces using a bandsaw. Look! That's me using a ban saw for the very first time!
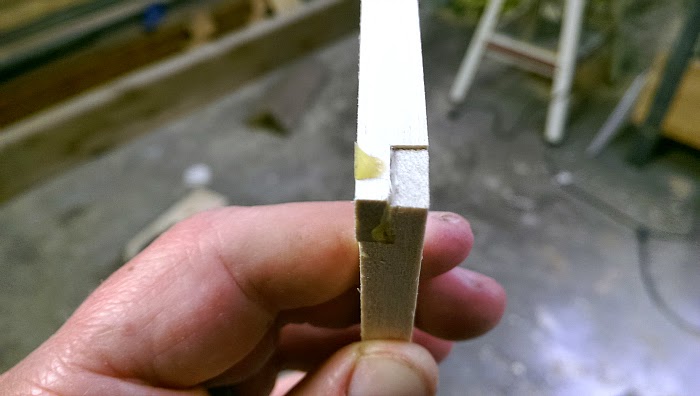
 We applied wood glue to the ends and fit the joints together like puzzle pieces to make a square.

 Next, we cut four three inch pieces of poplar for connecting the squares together in a cube shape.
 Next, we added a dab of glue to the top connectors and held them in place using tape pulled tight as a clamp. Then we flipped it over, removed the clamps and did the same thing to the bottom side.
 For extra strength, we drilled tiny pilot holes at each joint, then pressed in a nail that had glue on it.
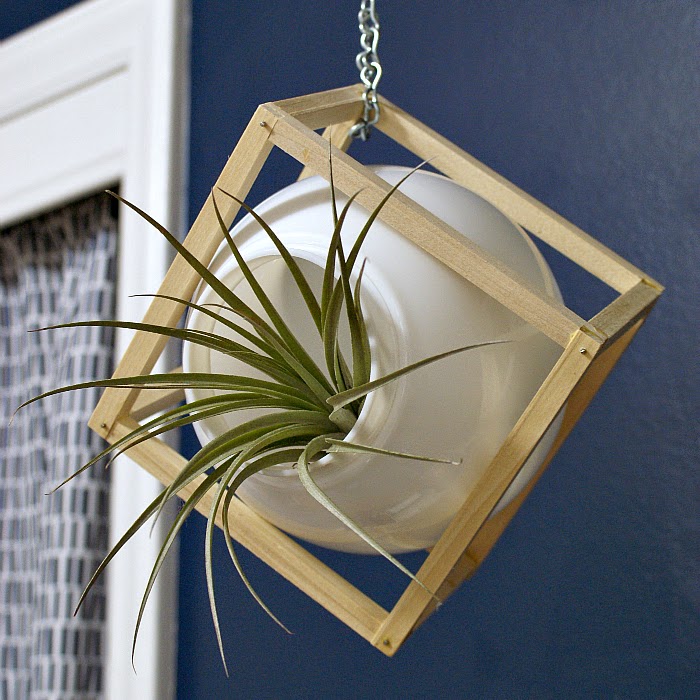
 We let the glue dry overnight before unwrapping the cube. We finished it by using a bit of fine grit sand paper to sand away little slivers and dried lumps of glue. As you can see below, the box sits well on it's own and would look neat on a desk or shelf. Since these are going in B's room, we wrapped chain around one corner so we can hang it from the ceiling. I plan to do a cluster of these over his dresser, which of course means I want to re-do the dresser now. Well, maybe just the handles...and the top...and the mirror that goes with it...


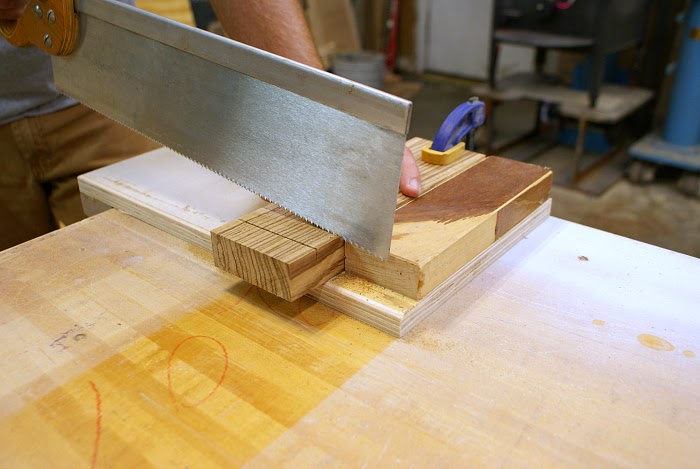
 Next, use a scribe to cut a small groove along your measurement line. This will help the saw blade get started. We used a hand saw for this tutorial because I figured not everyone has access to power tools or feels comfortable with them. However, Jesse finished the batch using a table saw.
 After your grooves are made, secure the block in place by clamping it to a table or work bench and using a
