I've been working on B's room and I'm so close to calling it finished! We bought a gorgeous wool rug a few days ago, and this weekend, Jesse helped me put together this little wall art project using patent drawings. The drawings were FREE and easy to locate because of a handy dandy Google tool that searches the U.S. Patent Office archives. Patent drawings are available for just about everything, so you could do sets for cycling enthusiasts, furniture fanatics, rock climbers...so many possibilities!

Supplies:
Patent Drawings (free downloads below) printed on 11 x 17 paper
Three pieces of 1/2 inch plywood cut to 12 x 18
Spray adheseve, I used Elmer's Multi-purpose Craft Bond
Picture hanging kit (optional)
First, I found patent drawings for three common woodworking tools: a coping saw, a hand plane and a set of chisels. Once I had the images I did some very basic photo editing to remove a couple of black lines, straighten and re-size them. I printed them on 11 x 17 paper, but the drawings I formatted would also work on 8.5 x 11.

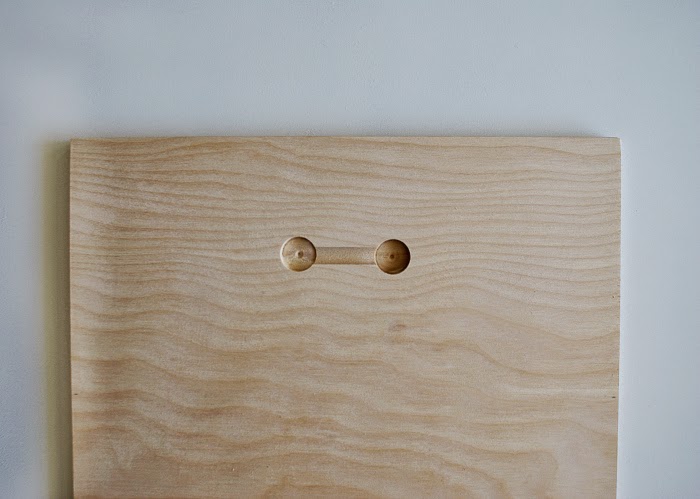
Jesse cut three plywood pieces and lightly sanded the edges to remove any splinters. Then, he used a forstner bit to drill two holes about two inches apart, followed by a dovetail router bit to carve out the center to make a notch for the wall screw to grab. He likes to get all fancy with the woodwork, but you could just use a picture hanging kit, too. Nothin' wrong with that.

I used Elmer's Craft Bond to adhere the drawings to the plywood. The adhesive is repositionable for the first minute or so and dries to a permanent hold. I recommend using it on the floor with a towel or something spread underneath because the over spray is kind of a paint to clean up.

I love, love, love these and can't wait to hang them above the book ledges in B's room! If you are feeling crafty and want to try this yourself, I've turned the coping saw, hand plane and chisels into free downloads. Just click the links and enjoy! Not feeling super crafty, but still want a set of these? I'll make a set and ship it straight to ya, just visit my newly opened Etsy shop!


No comments:
Post a Comment