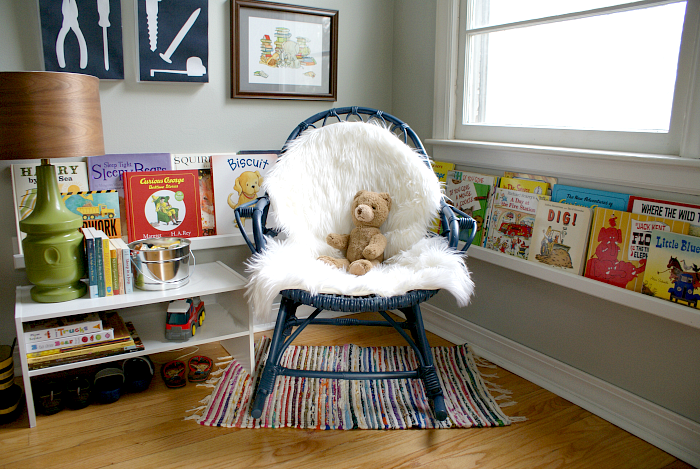
Anyhoo...One of the many projects I'm working on is re-vamping B's room. The color wasn't right from the start. Note - if you feel iffy about a color when you start cutting in the edges, stop! Stop right there and re-evaluate. I wish I had. I finally painted over the weird blue color literally one wall at a time during Saturday naps. I was leaning towards all gray, but the kiddo is completely attached to blue right now, so I went with three light gray walls and one navy blue wall.
 Part of the re-vamp includes a little book nook area with knock off Land of Nod Book Ledges. I feel so lucky that Jesse can help me make this type of stuff. Ledges from Land of Nod would have cost about a hundred dollars; Jesse had scrap wood in the shop and I painted them with the same stuff I've been using on the house trim, so ours were free!
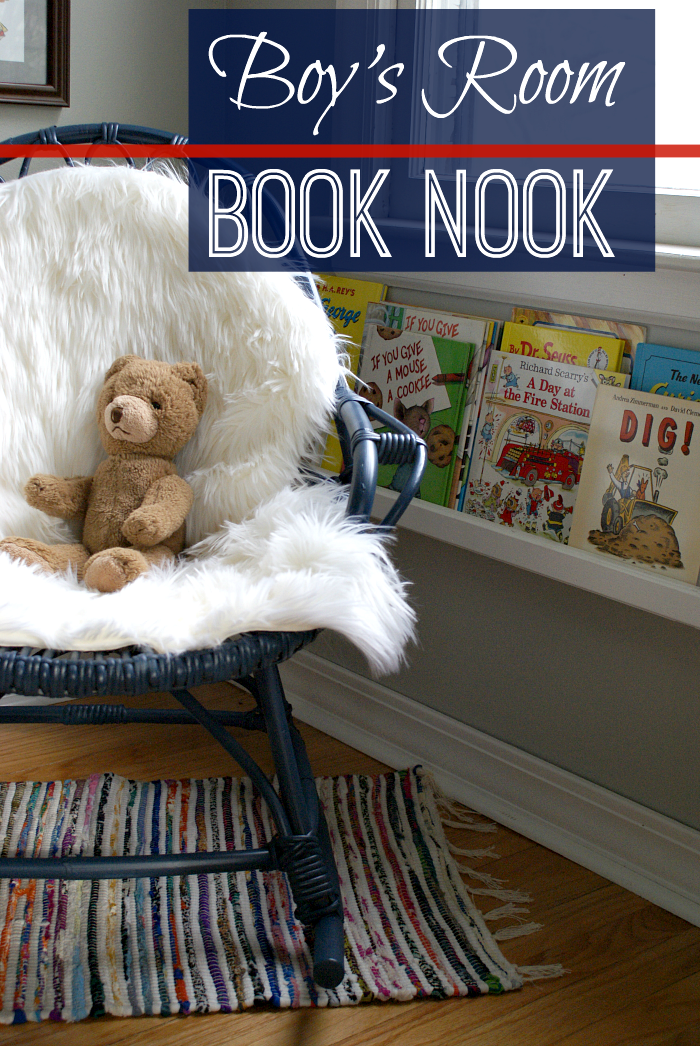
 Isn't this bamboo rocker neat? I picked it up an estate sale (for ten bucks!) and painted it navy blue. I love it in an ugly-cool kinda way. The darling teddy bear was Jesse's when he was a little boy.


 I can't wait to get the rest of B's room finished. We need to work out paint colors and linens for a Jenny Lind style bed (another Land of Nod Knock off) as well as an overhead light fixture. I found this cool mid-century (?) light at the Re-Store, but I'm not sure what color to paint it.
 Oh, and I definitely want to work these bad boys into the room somewhere! They belonged to B's Great-Great Uncle and I think they are silly and fun and would be great in a boy's room.
Here are the resources and cost break down for the book nook:
Bamboo rocker (estate sale) - $10
Paint for rocker (primer and navy blue from Valspar) - $9
Faux sheep skin (Home Goods) - $16
Book Ledges - Free!
Rag rug (Garden Ridge) - $3
Gray paper for re-matting print - $4
Everything else was already owned or re-purposed from around the house.
Total project cost = $42
Keep in Touch by Following Me on Bloglovin'!
This post is linked up with:
Remodelaholics Anonymous Weekend Link Parky 4.25.14
Tatertots and Jello Link Party Palooza 4.24.14
Soho Sonnet Link it or Lump it Sunday 4.27.14
Sunday Soiree Link Party 4.27.14
The Winthrop Chronicles Share it Link Party 4.29.14
The Inspiration Exchange 5.6.14


